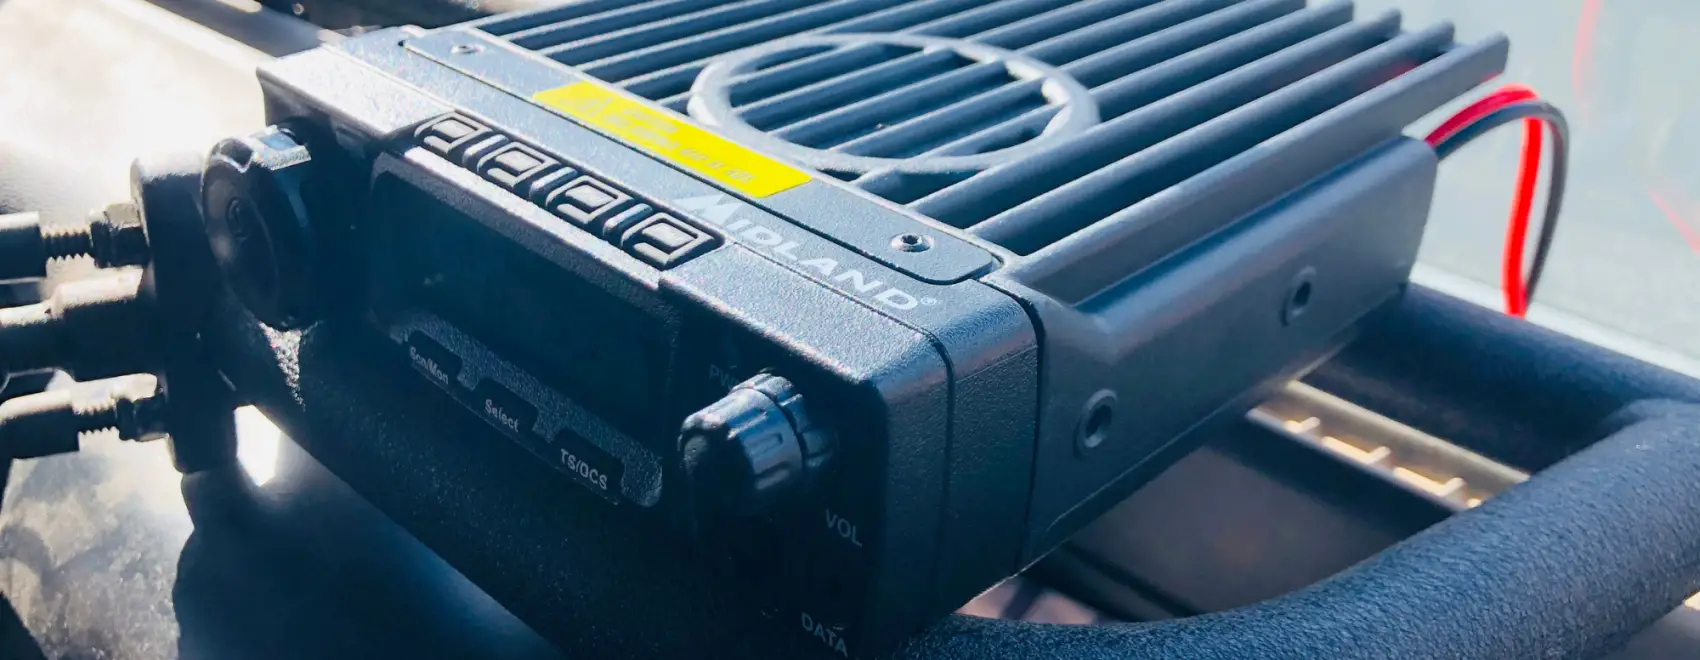
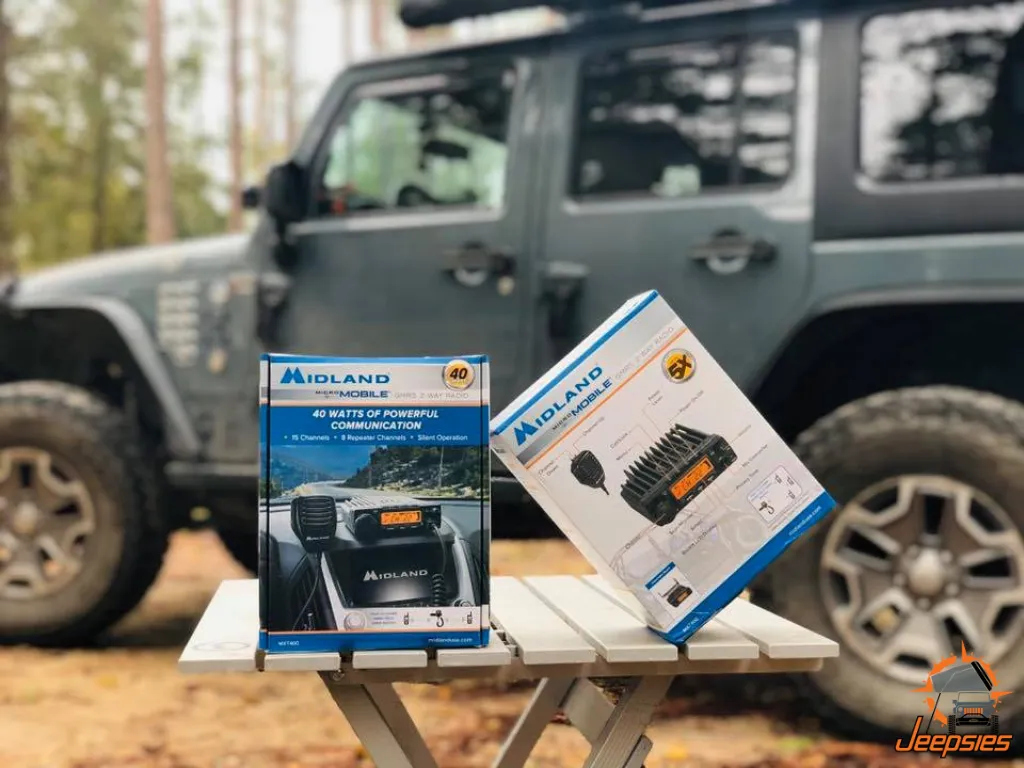
GMRS seems to be the communication method of choice for most off-road enthusiasts these days. If you’re going the GMRS route, then our pick for the GMRS addition to your communications arsenal is hands down the Midland USA 40 watt GMRS MXT400 MicroMobile two-way radio.
In October of 2019, Midland USA became our latest gear sponsor. They sent us two MXT400 Micro Mobile radios for our adventures. (Thank you, Midland!)
But once we received them, we had to install them. Enter my good friend Paul Jones. As soon as we arrived back in Austin for the holidays, I went over to Paul’s house and we knocked out the install together.
This article includes affiliate links. If you get excited about the product featured here, we’d love it if you’d shop via our links. This will encourage us to continue investing time in creating useful content!
Why the Midland MXT400 MicroMobile GMRS Radio?
Even though we’re starting our seventh year of full-time travel in 2020, we’ve never towed the Jeep behind our RV. Not once. We actually use the Jeep as it was designed–as a scout vehicle. So when we’re driving, we need a reliable form of communication between the two vehicles.
Up until now, we’ve been communicating using the 5 watt Midland GXT 1000VP4 hand held GMRS radios when we’re out on the open road. While these radios are great for what we’ve used them for, there have been many times during our extensive travels when we wished we had a much longer range.
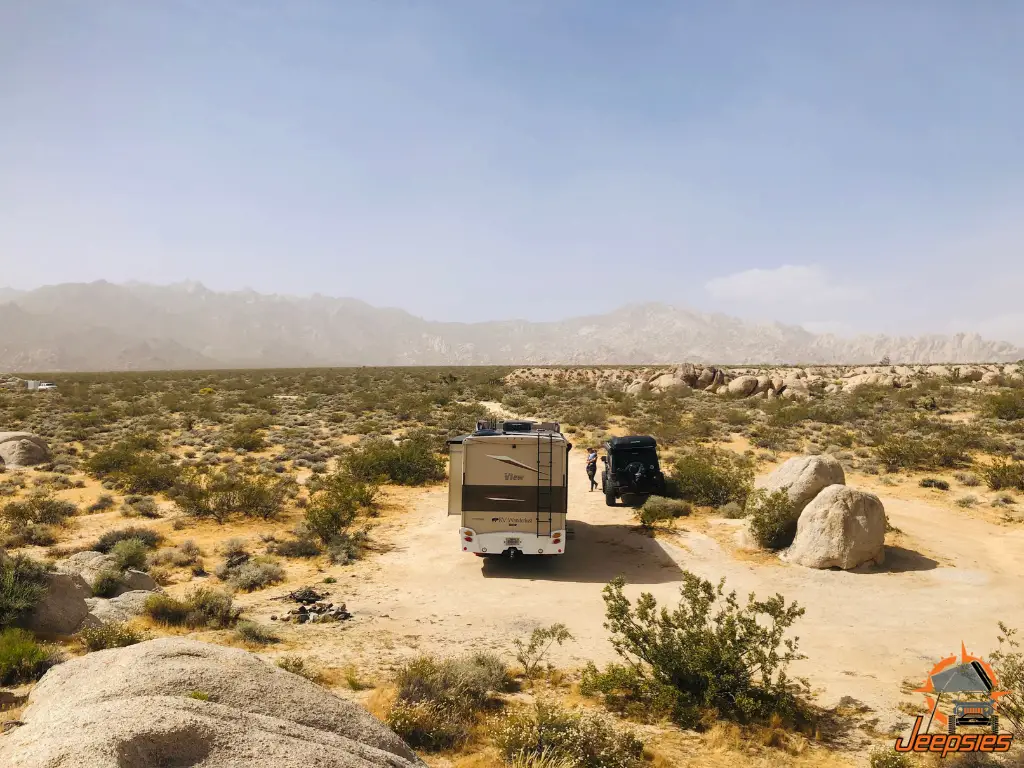
Imagine Basecamp our RV, sitting by itself off-grid in the middle of a no cell coverage area. Caspian and Brittany are hanging out and I’m miles away on the trails, or I’ve run into town for something–farther away than the handhelds can communicate. Without cell service, there’s no way to contact the family back at Basecamp.
With the 40 watts of power in the MXT400s, this is an issue of the past.
Unobstructed, the MXT400s can communicate a whopping 65 miles away. With partial obstructions, they can still communicate 15-20 miles. With heavy obstructions, you’re looking at 5-10 miles.
We’ve done several tests we’ll have to write about in another article. But suffice it to say, these radios have some serious power. For safety, security, and peace of mind, we’re really thankful to have added these radios to our overlanding arsenal.
➡️ Hop over to Midland to read reviews of the MXT400s or purchase.
The Jeep Install

The install in our Jeep was fairly straight-forward. Though there were some acrobatics involved. If you don’t own a Wrangler, then you won’t understand. But if you do, then you know exactly what I’m talking about. But that’s #JeepLife, right?
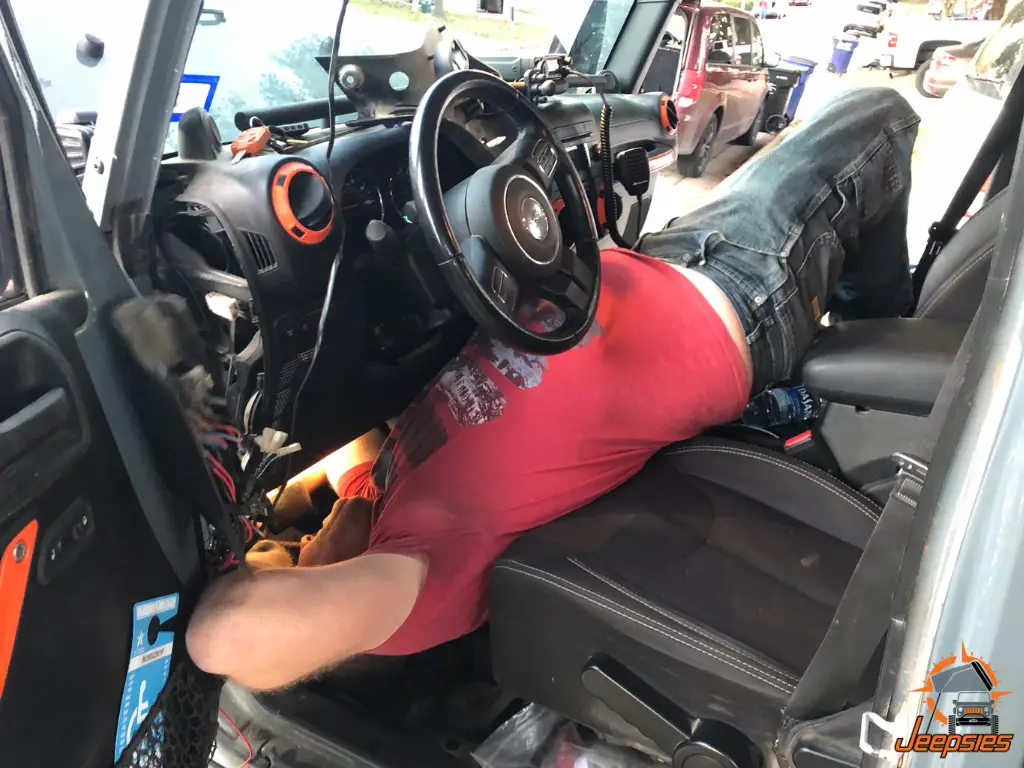
The steps that follow are for a Jeep Wrangler JKU, but you can adjust as needed for your vehicle.
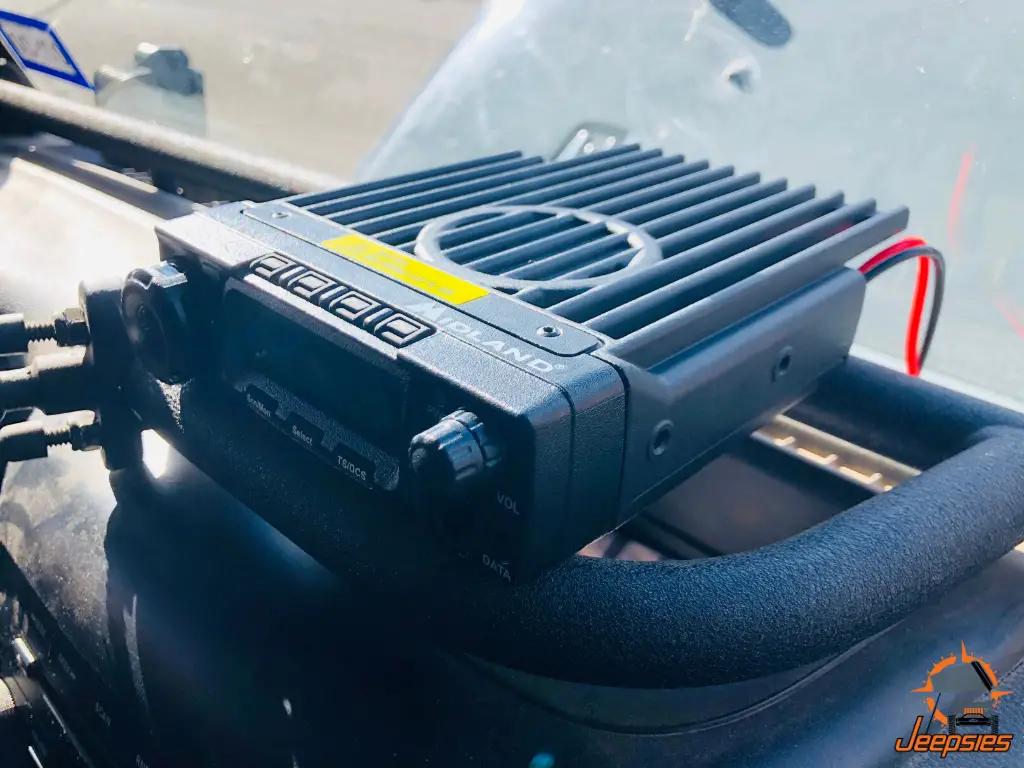
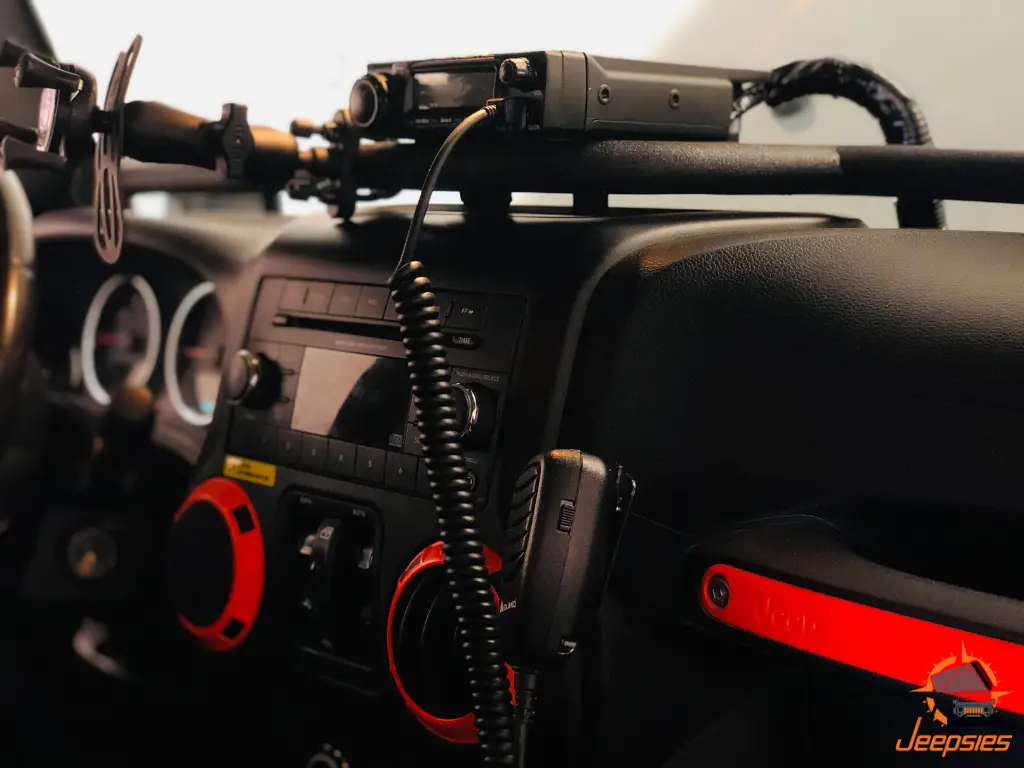
Step 1: Decide on a location in the vehicle where the radio is going to live.
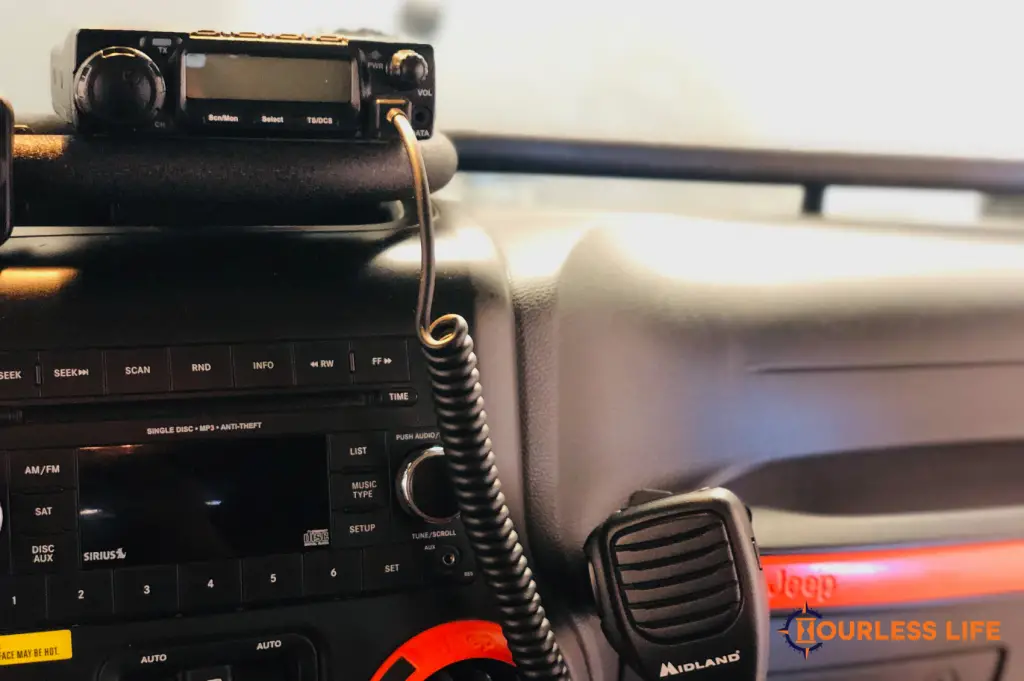
We decided to mount our radio on top of our Vector Off Road JKE Dock. Here I have quick access to all of the radio controls; it doesn’t obstruct line of sight; and the mic is readily accessible. (Jeep-specific)
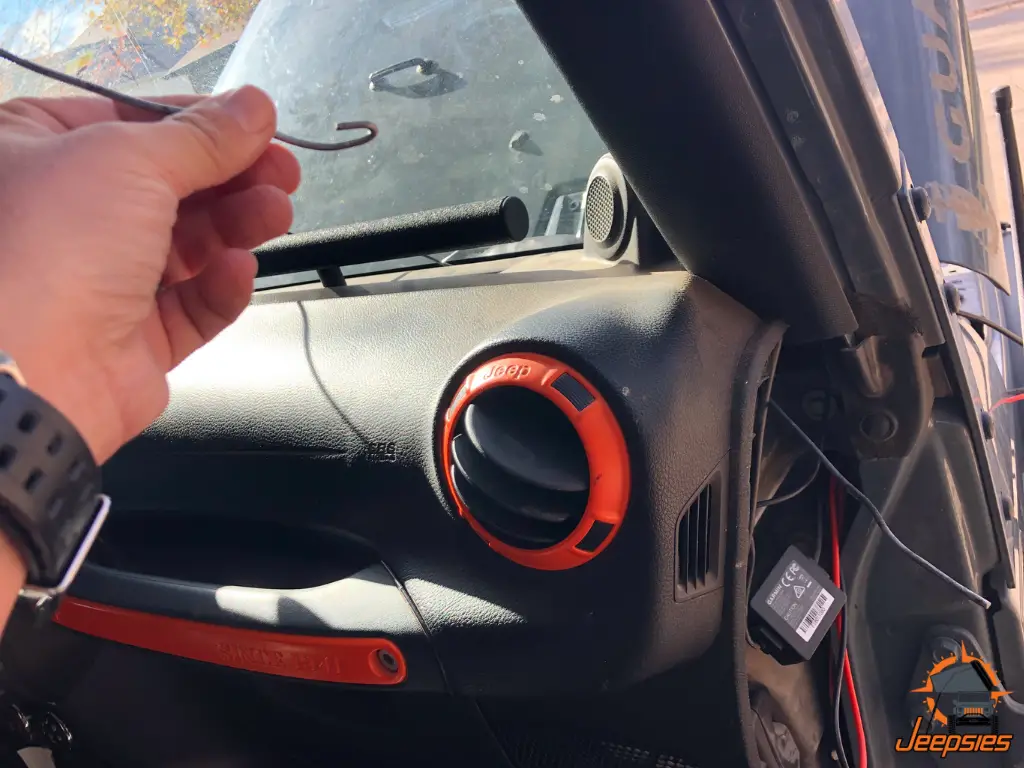
Step 2: Remove passenger side dash panel. (Jeep-specific)
Step 3: Remove plastic casings (covers) from the fuses on the power and ground wires to allow them to fit through the firewall.
Really nice touch from Midland to put these fuses in removable casings. If they hadn’t, this part of the install would have been a nightmare.
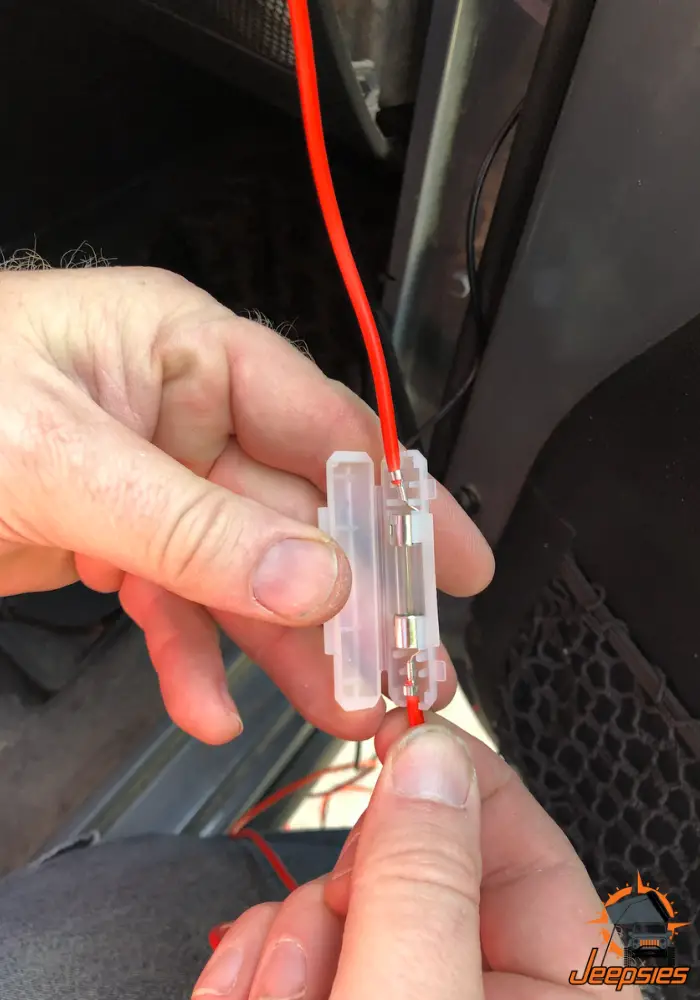
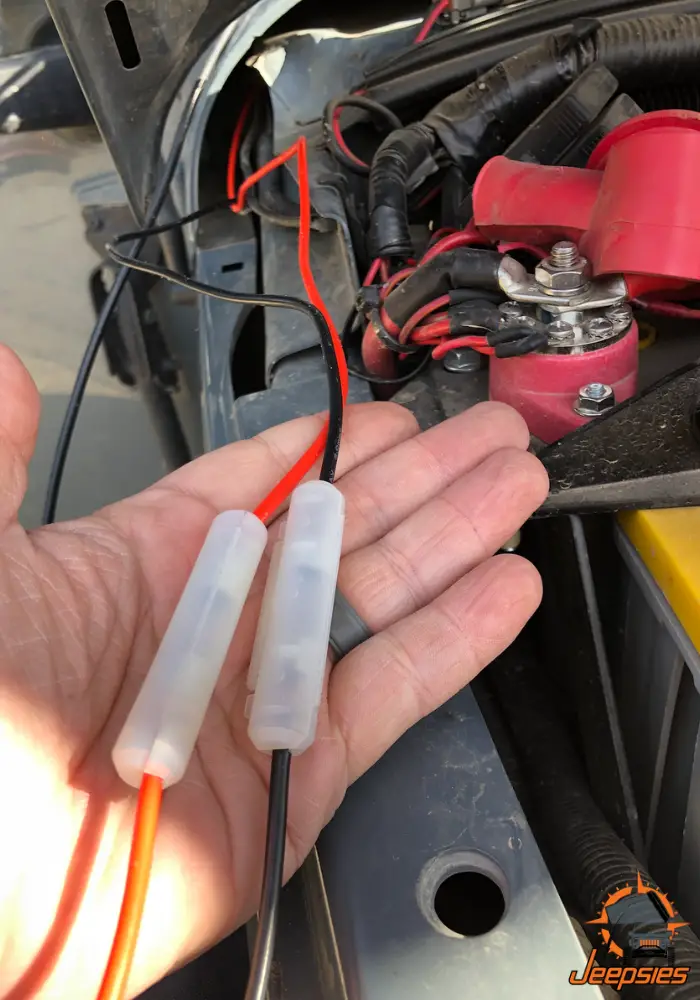
Step 4: Run power wires through the firewall hole and replace casings.

Step 5: Add ring terminals to power wires, to attach them to the battery.
We added ring terminals because we are powering our radio using the Genesis Dual Battery setup. Most installs will not require Step 5. But for those with the Genesis Dual Battery system, make sure you have some ring terminals.
Step 6: Connect power wire to the battery.
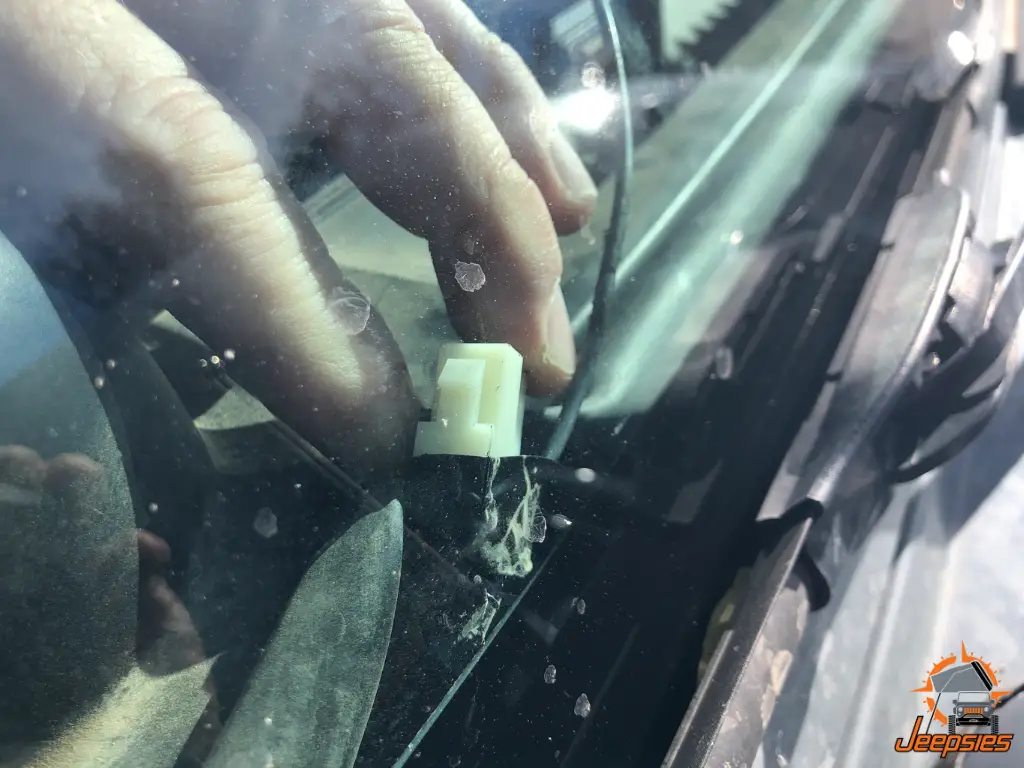
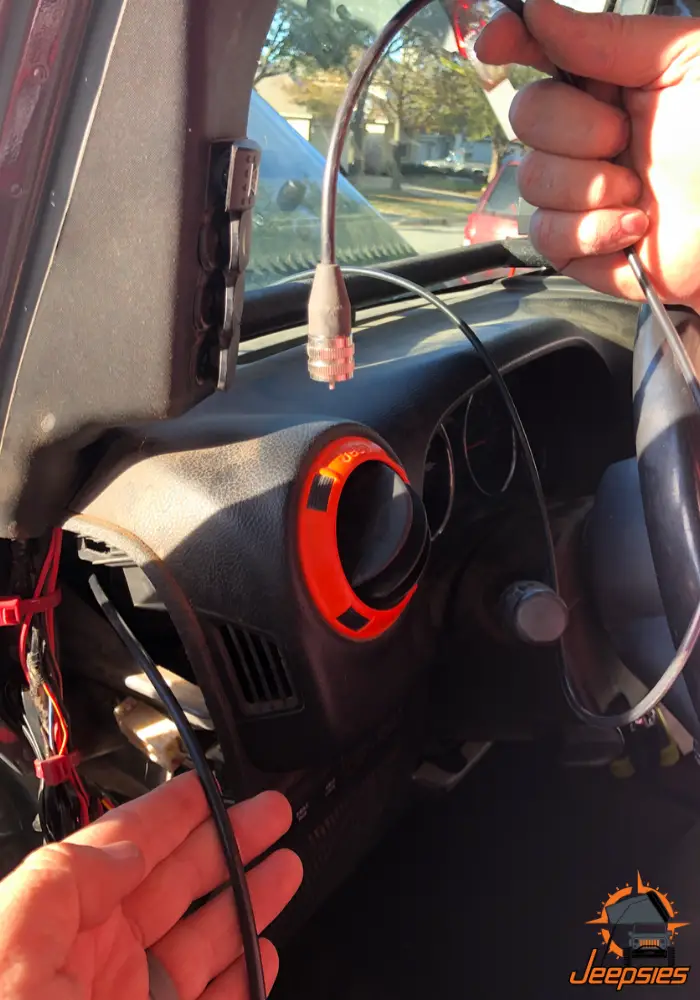
Step 7: Run power wires through the windshield channel to the radio. (Jeep-specific)
Though acrobatics are often required for these types of installs in a Jeep, we’re really thankful Jeep included so many ways to get wires through and around the dash, and windshield.
Step 8: Decide on location for antenna.
Unfortunately, there aren’t too many options with a Jeep Wrangler, since the roof has little to no metal. So we went with a longer antenna on a magnetic mount, and placed it on the hood of the Jeep on the passenger side.
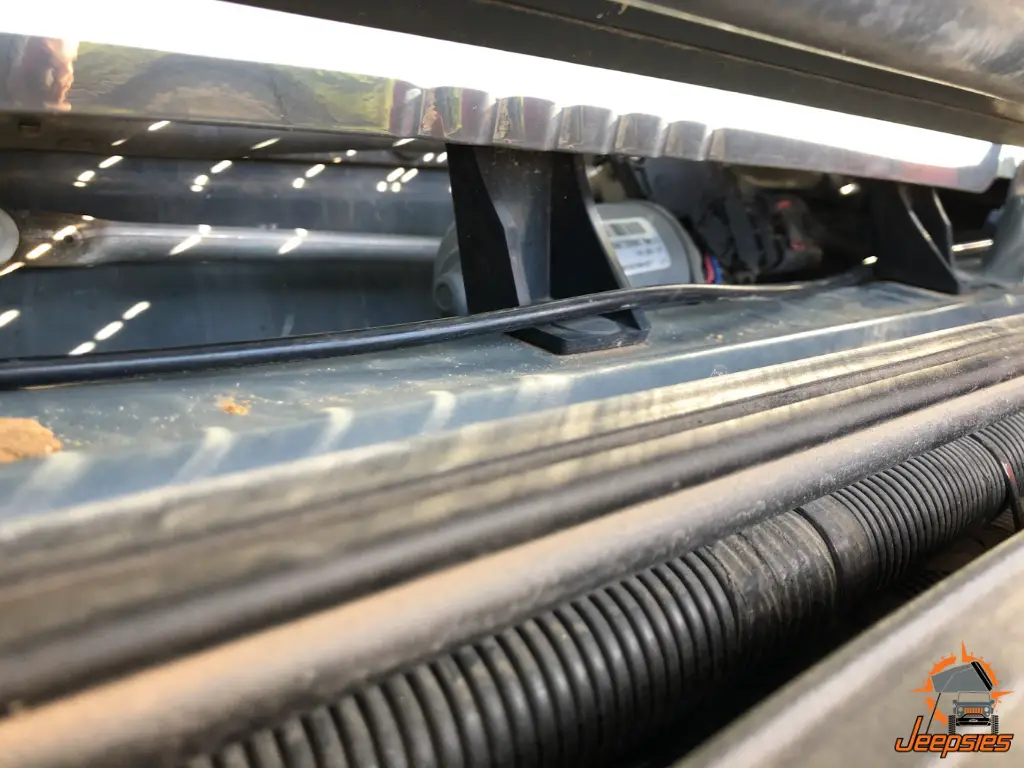
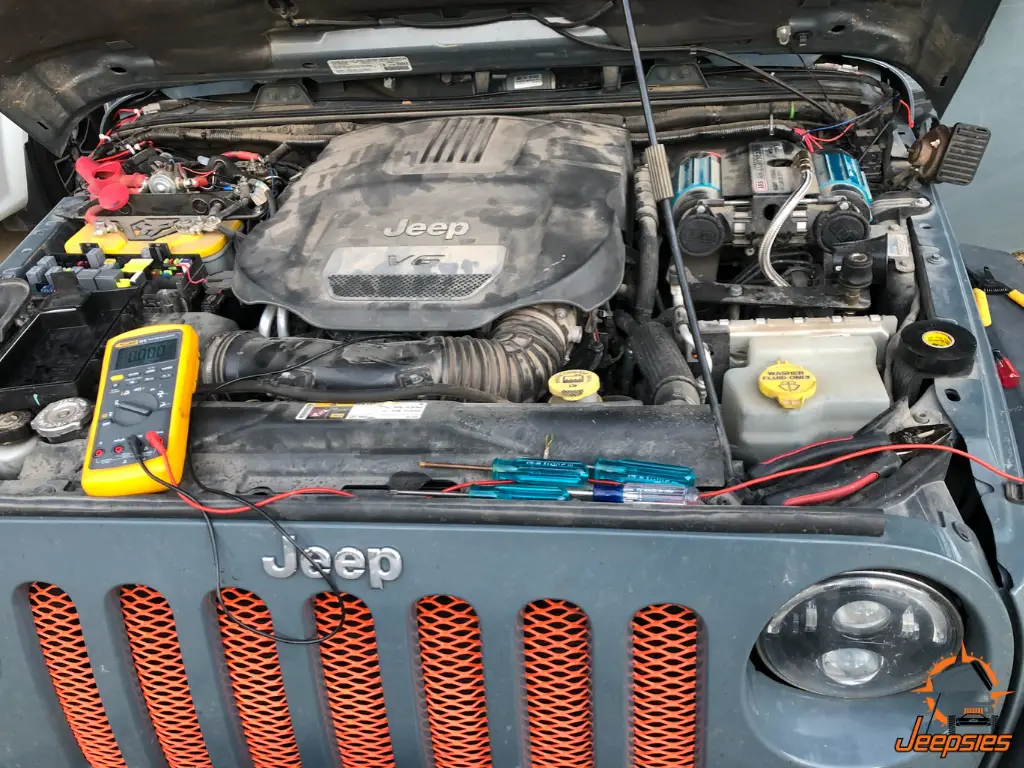
Step 9: Run the antenna cable from the mount point through the engine compartment to the driver side, along the windshield wiper housing. (Jeep-specific)
Step 10: Remove the horn to allow access to the firewall on the driver side. (Jeep-specific)
We had already relocated the horn because of the ARB Dual Air Compressor. If you’re installing one of these radios in a Wrangler, you’ll probably skip this step.
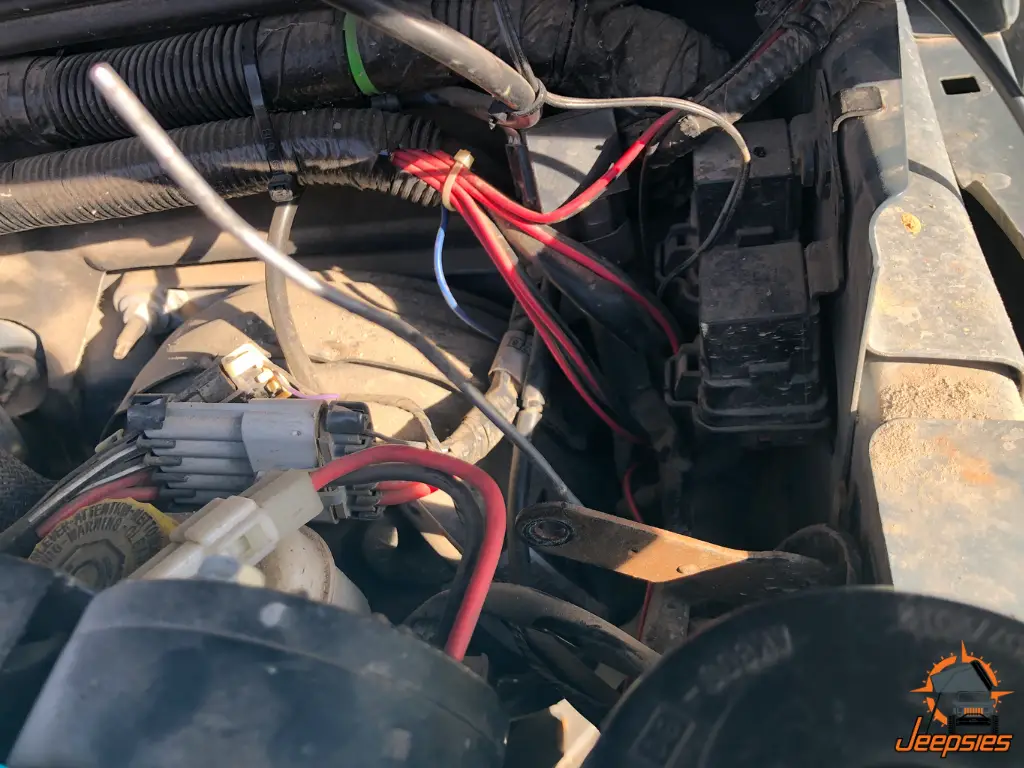
Step 11: Run the antenna cable through the firewall on the driver side.
Step 12: Remove driver-side dash panel. (Jeep-specific)
Step 13: Run the antenna cable through the windshield rubber gasket channel. (Jeep-specific)
Step 14: Connect antenna cable to the radio.
Step 15: Button up all dash panels and clean up all wiring.
That’s it. Radio installed.
We powered ours on and began tests. As I said, that will have to be another article down the road, after we’ve had a chance to put these radios through their paces across differing terrain.
➡️ Hop over to Midland to read reviews or purchase.
Closing Thoughts on Our Midland MXT400 MicroMobile Install
As you can see, our installation was pretty straight-forward. Even though some acrobatics were necessary, the radio install itself was a breeze. I’d say about an hour to an hour and a half, tops.
But nothing ever goes this smoothly, right? Nope.
During the install, Paul and I had been messing around with some fuses in the fusebox, and pulled the fuse for the ARB Dual Air Compressor. We forgot about it and moved on to the rest of the install. As always when finishing up anything with power, we tested everything that has power in the vehicle to make sure we didn’t do anything screwy. Sure enough, everything worked EXCEPT for the air compressor.
Being the Jeep savants we are, we were sure we must’ve pulled an air compressor power line loose when yanking the antenna wire through the driver side firewall. So we spent the next five hours taking all of the wiring for pretty much everything in the Jeep apart, trying to figure out where the problem was.
When we finally remembered about playing around in the fusebox, we were a little embarrassed we missed something that simple. But we had some good laughs and camaraderie. Don’t judge us.
Bottom line, the radio is installed and it’s amazing. Everything else is operational as it should be, and all is right with the world.
If you’ve been on the fence about a permanently-mounted GMRS solution for your vehicle, then I’d encourage you to give the Midland USA MXT400 MicroMobile a look. It’s a solid addition to any overlanding arsenal.
Until next time, keep it dirty and wheels side down.
~Eric, Brittany, and #LittleNomad
This article was originally published on Jan. 6, 2020.


What I love about Jeep Wranglers is all the vehicle specific accessories. In my ‘06 TJ, I used a rugged ridge brake light antenna mount to mount my CB antenna to my Left Hand Brake light. They make the mount to work with all three break lights. Left. Right,and middle Third Break light.
I got mine from Quadratic, bellow is a link to some antenna mounts just to give your readers an idea or two
https://www.quadratec.com/categories/jeep_audio_electronics/cb_radios_accessories/cb_antenna_mounts?
What’s your FCC Callsign? We’ll look for you on the radio.
WREK971 (Can’t believe they gave me WREK, hope it isn’t an omen lol) But we’re out there. ~ E
BTECH GMRS 50X1. FCC approved radio at 50 watts. Less than 200 dollars on Amazon. Lower cost, more power and more capability than the MXT400. Not that a few extra watts of power is a huge deal on GMRS but you claim of “there isn’t a more powerful FCC-approved addition to your arsenal than the Midland USA 40 watt GMRS MXT400 MicroMobile two-way radio.” isn’t quite accurate.
Hey Josh! Thanks for the comment. Wasn’t familiar with that unit. We’ve always used Midland USA radios since we began our fulltime travels back in 2014. Appreciate you bringing that up as an option for those looking at the article. I can’t speak to any other brands, and at the time I wrote the article I wasn’t aware of a more powerful option. ~ Eric
Also, in the interest of having as accurate information as possible in our writings, I updated this article on 12/28/20 to remove that statement about there not being a more powerful FCC-approved GMRS. Again, thanks Josh. I have no problem being corrected when I’m incorrect. ~ Eric
Just curious how you have the radio mounted to the VECTOR? Is it just sitting on top of the rail? I have the vector mount as well as this radio and was going to mount mine in the same manner. I am just worried about it slipping off.
Great question Mat. Thanks for noticing. Yep, I just mounted it using heavy duty Gorilla tape, directly to the E-Dock. Never had an issue with it. Been through all kinds of heat, cold, and off road trails. Never budged once. ~ Eric