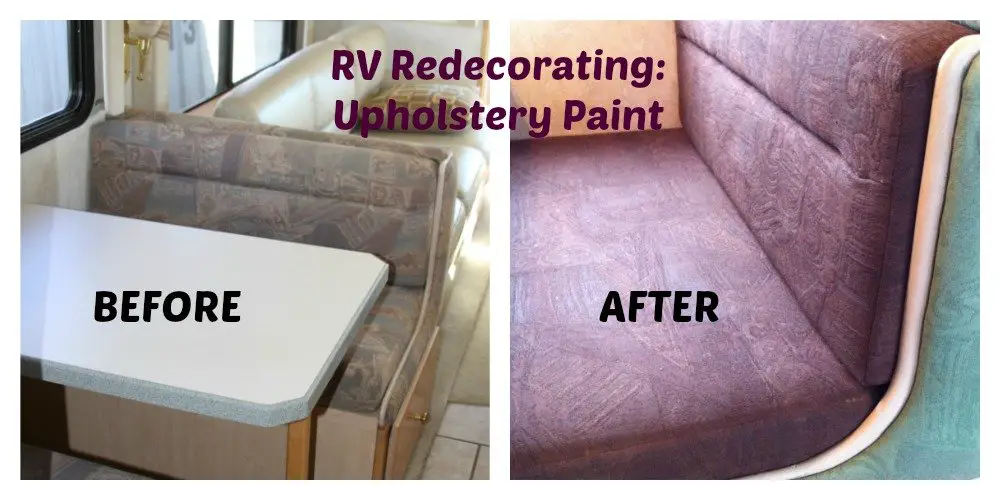
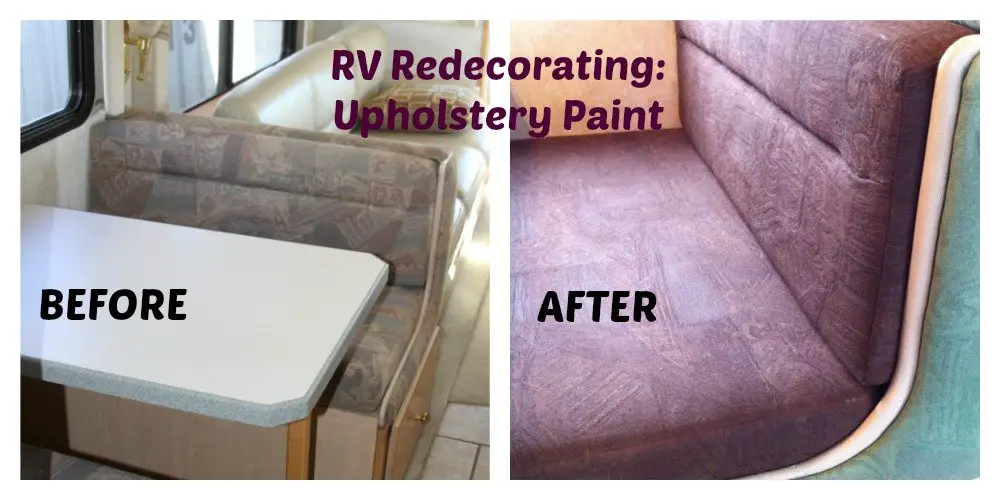
Upon purchase, we were quite pleased with the condition of our new-to-us 2004 Tiffin Phaeton. But there were a few things I couldn’t see myself living with. Most glaring among them: the dinette cushions.
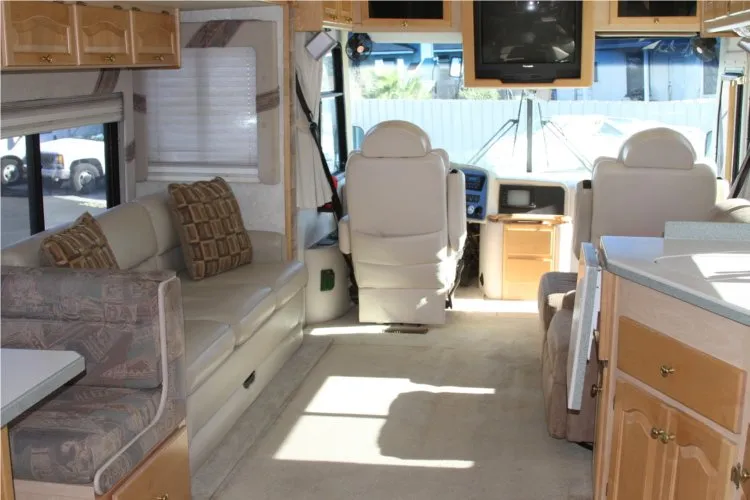 2004 Tiffin Phaeton right after purchase
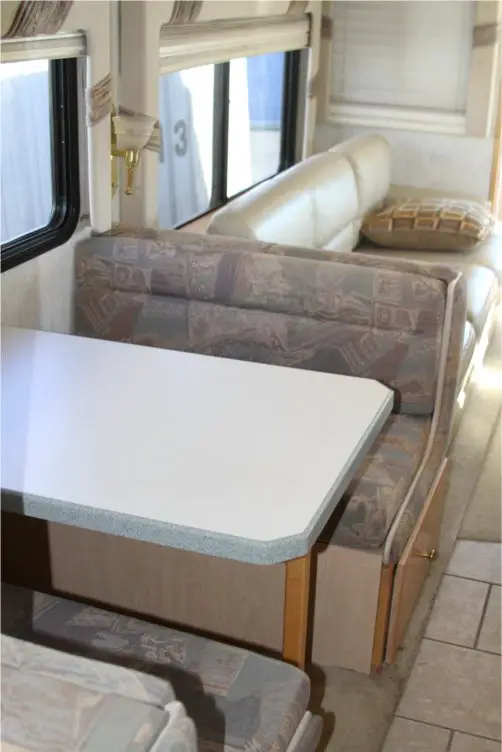 A close-up of the old dinette cushions
The cushion upholstery was blah at best, and a decade worth of stains were noticeable. I looked online for new cushions for sale, but in the end, I decided to go the more creative route!
One of my online marketing clients is a membership program for independent interior designers, so I spend a lot of time every day in design-land. During my online surfing, I came upon a couple of furniture makeovers using upholstery paint, like this one. I was completely inspired by the transformation, and figured I could make it work for my dinette cushions!
My Painting Supplies
 My main supplies
I’m not a artsy person. So this whole project was a big deal for me. Fortunately, I didn’t need a lot of supplies, and the process was straight-forward. Here’s what I used:
- Spray bottle for water
- Old towel to put on floor beneath where I was painting
- Martha Stewart Fabric Medium (purchased at Michael’s)
- Craft Smart Acrylic Paint: Espresso (purchased at Michael’s)
- Cheap paint brushes of different sizes
- Wooden stir sticks (I used large popsicle sticks)
- Paper plates for my palette
As is probably true of your RV, I had four total cushions to paint: two large for the seats, and two smaller for the backs. I’ll get into the “how” in a second, but I used 10 bottles of fabric medium and about 32 bottles of acrylic paint. At three coats total, that’s about 3 1/2 bottles of medium and 10 1/2 bottles of paint per coat.
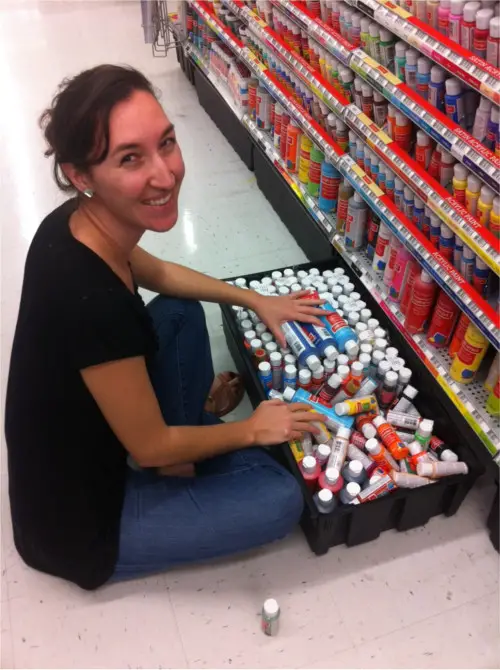 Rummaging through the paint inventory at Michael’s
Important note: If you use a more unique color (e.g. not basic red or blue), you will probably not find enough acrylic paint at any one time, at any one Michael’s. If you have multiple stores in your area, it doesn’t hurt to call ahead and find out who can serve up the most paint! I learned this lesson, so you don’t have to!
The price of the fabric medium was $5.99/bottle, and the paint ranged from $.48-69/bottle, depending on which store I was at. Michael’s wealth of regular coupons saved me some money on the fabric medium. The brush set I bought was $3.99. All told, this project cost $93.05, but I over-bought my supplies. Had I bought exactly what I needed, it would’ve been more like $80.00.
Project total: $80.00 + time.
The Painting Process
I was fortunate enough to do my painting while we were still living in our apartment. Had we already moved into the RV, I don’t know how I could’ve found the space! I guess I could’ve set up under our awning if the weather was nice!
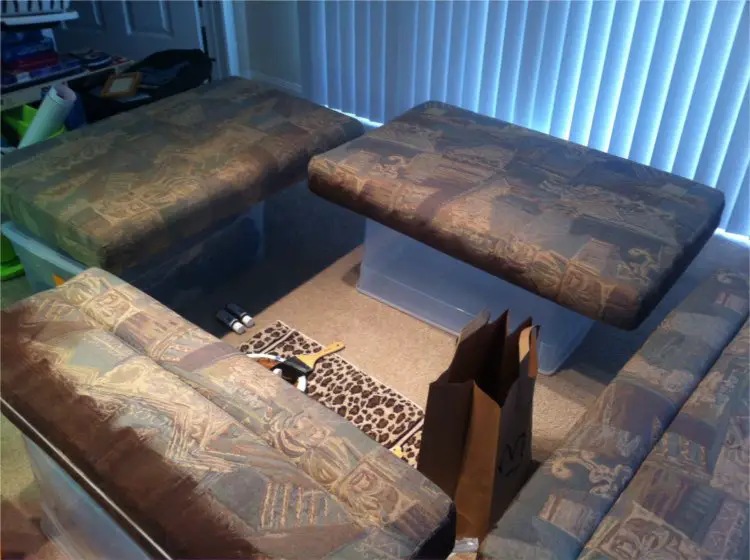 Cushions set up on tupperware containers – just getting started with first coat
- I sat each cushion on an upside-down tupperware container. This allowed me to paint the top and all four sides, let dry overnight, and then flip to paint the underside.
- Before painting, make sure you spray down your cushion surface with water. This helps the paint mixture to absorb properly.
- My painting mixture was about 1:1:1, medium, paint and water. You may find you want to add slightly less than 1/3 water – I did. I eyeballed the mixture while pouring into my paper plate, and it worked out fine. Mix thoroughly with wooden stir stick.
- As I mentioned before, I ended up doing three coats, and then touch-ups. I got a little bit lazy with my touch-ups and missed a few spots!
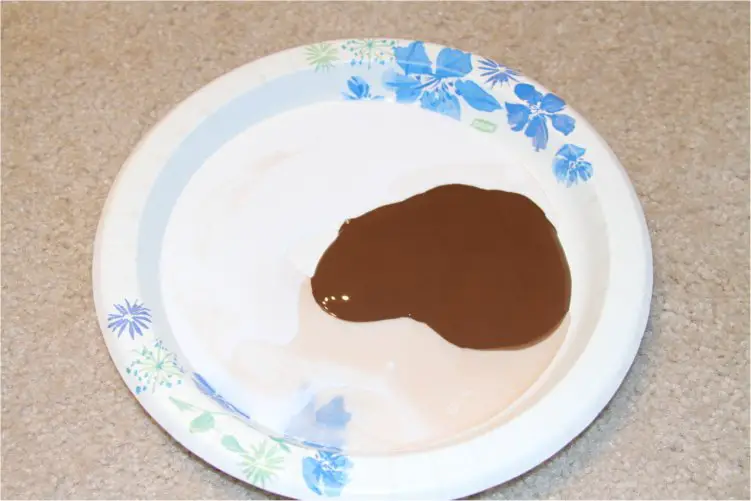 My unsophisticated painting palette
Here’s a visual play-by-play:
 Yucky!
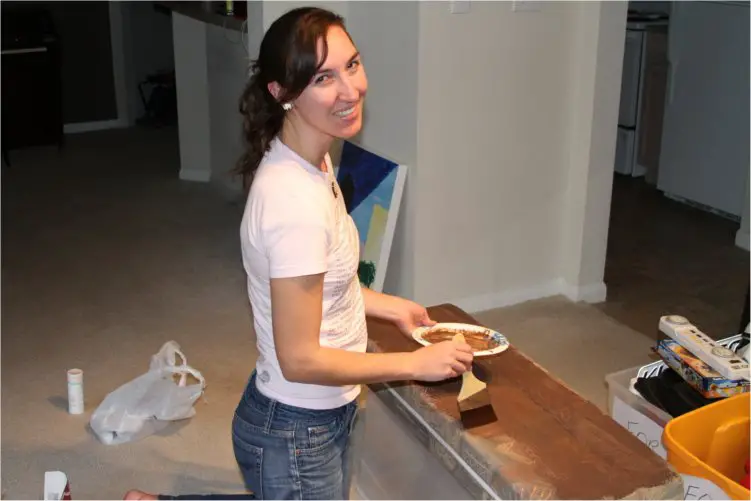 Can I go to sleep yet?
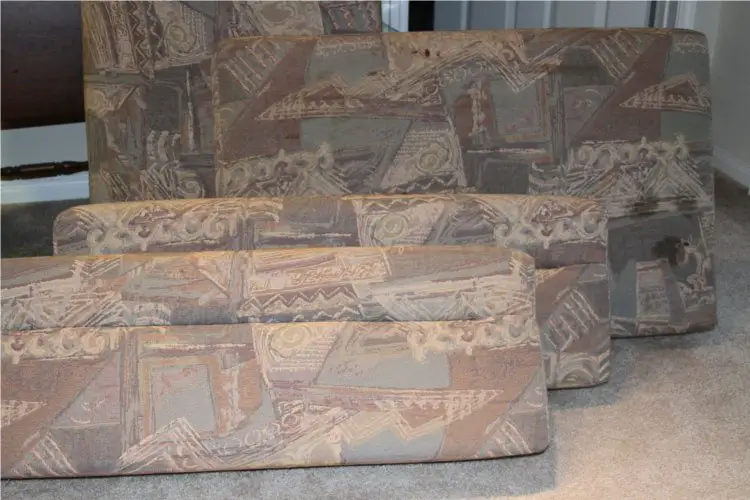
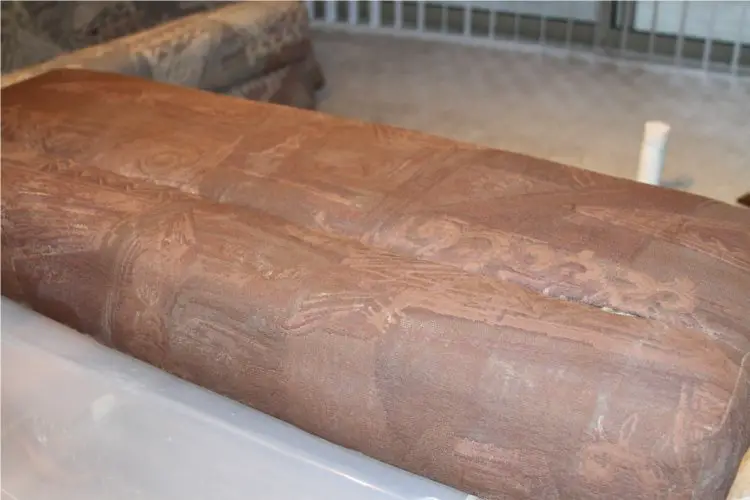 After first coat
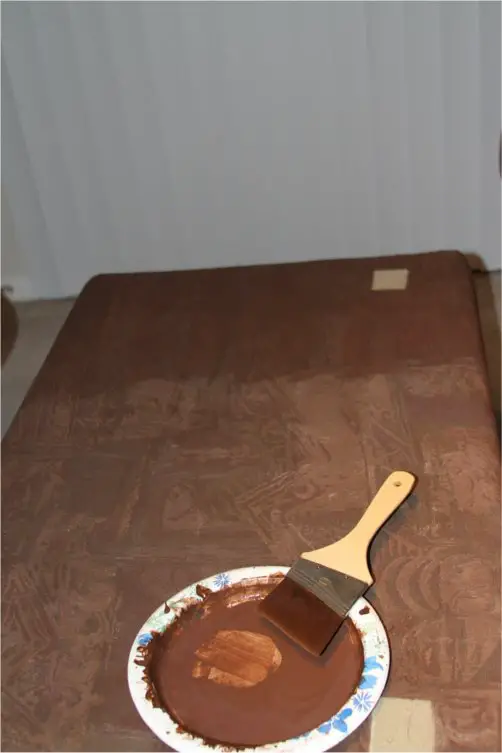 In between coats one and two – what a difference!
Speaking of lazy, it did become tedious to paint by brush. In retrospect, I would’ve found a way to spray the paint mixture on. I know other people have done this with their upholstery painting projects.
I also want to make very clear that the cushions are not soft like they were before. They now feel more like tough patio furniture. Personally, I don’t mind at all. I’d much rather have them this way than the way they looked before! Plus, I’ve found that the surface is water resistant and extremely easy to clean. I can vacuum up any crumbs that fall in a jiffy. But I don’t want to blindside you by not mentioning the texture change.
To wrap up the project, I painted the trim around the dinette. My paint mixture was the same, except I used Craft Smart’s sage green color. Even though we taped off, paint fell into the cracks and got on the leather trim. I read that you can remove acrylic paint from leather with olive oil, so that’s on my to-do list.
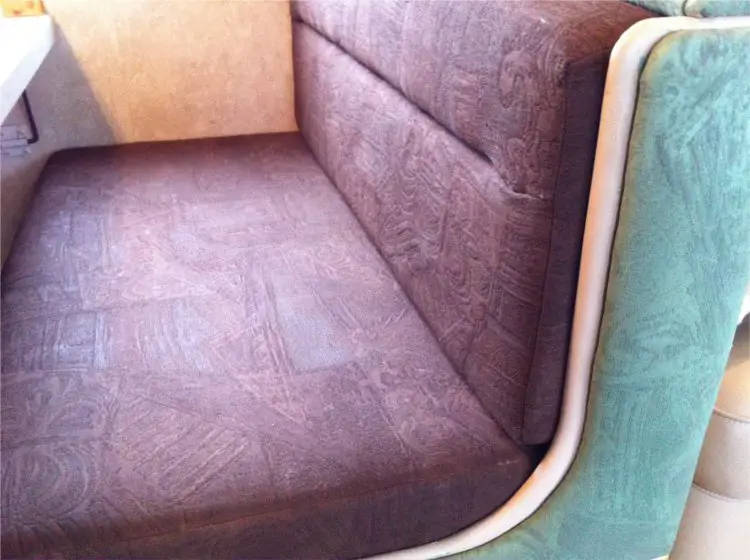 Painted cushion and dinette trim
Last but not least, I had to hide the ugly trim around my cabinets! Eric taped everything off for me, and I ended up doing two coats in sage green. I used about one bottle of medium and less than two bottles of paint. Much easier and quicker than the cushion project!
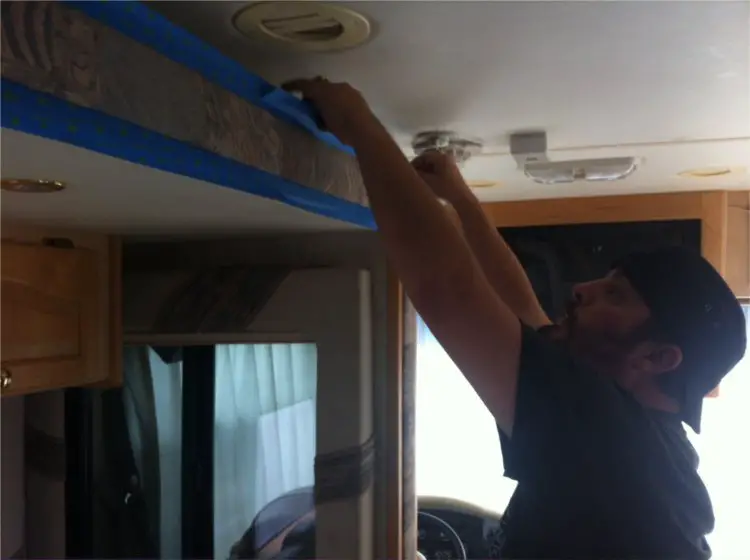 Thank you for your help, my love!
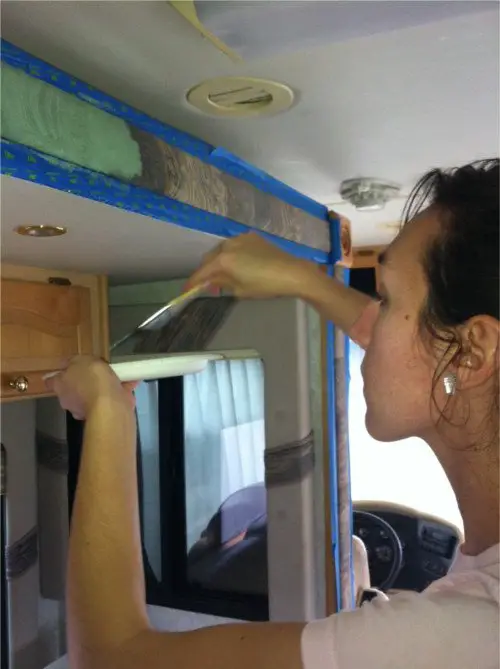 Painting our trim – so happy to be hiding the old fabric!
What’s next in my redecorating journey? Re-upholstering the cornice boxes around my windows! Actually, this project is already in progress – I’m more than half done recovering the boxes in the living area and kitchen. But that’s a story for another blog post!
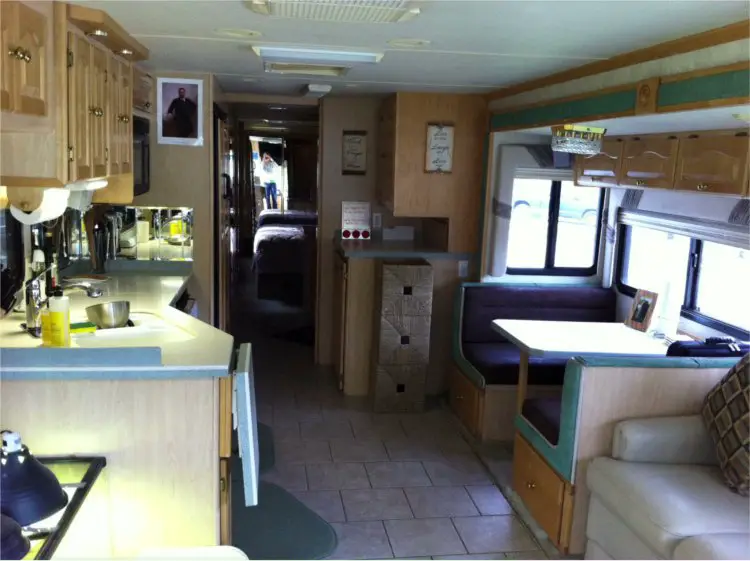 Interior of our RV Meriwether with painted dinette and trim, one day after moving in
Until then, have I left anything out? Let me know if you have any questions. I’m happy to help you decide whether upholstery painting is right for you and your RV.
-Brittany


Nice work and a great idea for making changes without ripping everything out (like we did-haha).
Thank you, Lynn! We’ll see how long these last me…I saw some new cushions at Tiffin last week that I really liked. :) But my hardy painted cushions are so easy to clean and wipe off – nice that they’re water resistant too!
I’ve never even heard of upholstery paint. That’s so cool! What a great transformation!
I appreciate the kind words, Tracey! It was quite the experiment, but I’m happy with the results.
Brilliant!
We have the exact ugly upholstery in our 5th wheel. I may try this.
@asillem4:disqus, two and a half years in, I’m really happy with the way the cushions have held up. They’re much easier to clean, and the color has stayed. We’re in the process of making new curtains which will change our color scheme, so we may do something else soon. But that’s the only reason I’m considering anything else.
My daughters like to stay in the 5th wheel when they visit. With some long term visits on the horizon, I’m hoping they help me re-decorate it. My husband is very nervous! LOL