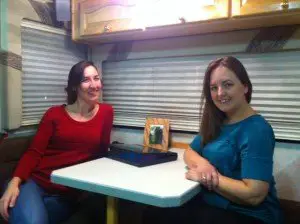
After you’ve seen a few brand new RVs, stepping into a coach that’s over a decade old can jar your aesthetic sensibilities. In fact, as we went through the purchase process with Meriwether, Eric had to keep reminding me that all the outdated and worn things I saw inside could be changed.
First project: dinette cushions. They grossed me out, so I painted them.
Second project: cornice boxes. Though I didn’t know what they were called at first, I immediately knew they had to go.
Frankly, I had no clue where to start. I read a few articles online and the process sounded too complicated for me. I was extremely fortunate to meet Kerensa of Drive Dive Devour. In addition to being eons more creative and crafty than I am, she had actually just finished recovering the cornice boxes in her mother’s home. I had the gall to ask her for help, and she had the kindness to say yes! All for a drink at Starbuck’s.
The Process: Planning
So let’s get right into the process. I mostly stood around telling Kerensa that I had no idea what she was doing. But in retrospect, I understand enough to explain!
After taking the cornice boxes down and examining them, we determined that the ugly “accents” were stapled on and could be removed. Once they were gone, there was a relatively flat surface underneath. In many of the reviews I read, people took off the old fabric before adding new fabric. I decided the extra step was unnecessary in my case. But I have seen really crazy cornice boxes (like Kerensa’s!) that aren’t so easy to flatten. In that case, the old fabric would really have to be completely stripped off first.
Here’s a quick supply list for this project:
- Measuring tape
- Phillips screwdriver
- Flat-head screwdriver
- Pliers
- Reliable staple gun and staples
- Scissors
- Elmer’s glue
- Fabric of your choice
- A friend
The Process: Measuring
The observation stage completed, we moved on to measurement. I have three large cornice boxes (above the dinette, couch and Trogdor’s terrarium) and three small boxes (beside the dinette, couch and above the kitchen counter). Kerensa realized that the three smaller cornice boxes essentially “fit inside” of the large boxes. So she only worried about measuring the length of the large boxes, knowing there would be enough leftover fabric for the little ones.
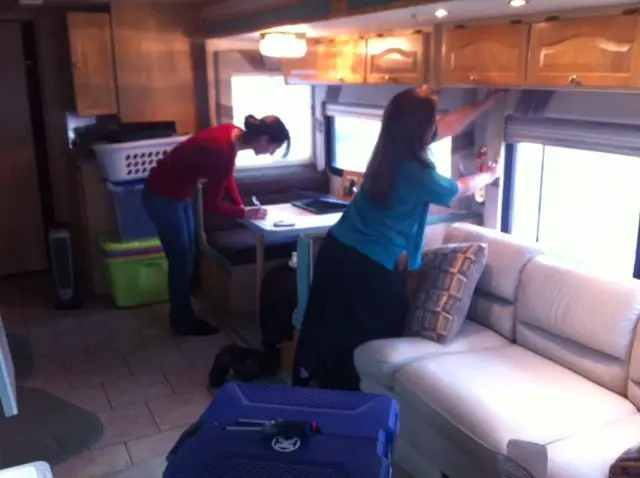
When you measure the length of the boxes, you need to also take into account the sides of the boxes and “fold-over” fabric. For example, one of my large cornice boxes was 65.5″ long + 4″ on either side (8″ total) + 2″ to fold over on either side (4″ total) = 77.5″ of fabric needed for that one cornice box.
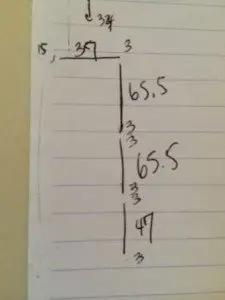
As far as the height of the cornice boxes, my tallest was 32″. We planned to find a fabric that came in at least that size, which wasn’t difficult. This is the diagram Kerensa drew to determine the total length of fabric we needed. You’ll see that she wanted a total width of 37″ (the height of the boxes) and a total length of 196″ (3+65.5+3+3+65.5+3+3+47+3).
At the time, my head was spinning. Hopefully you’re still tracking with me!
The Process: Finding the Perfect Fabric
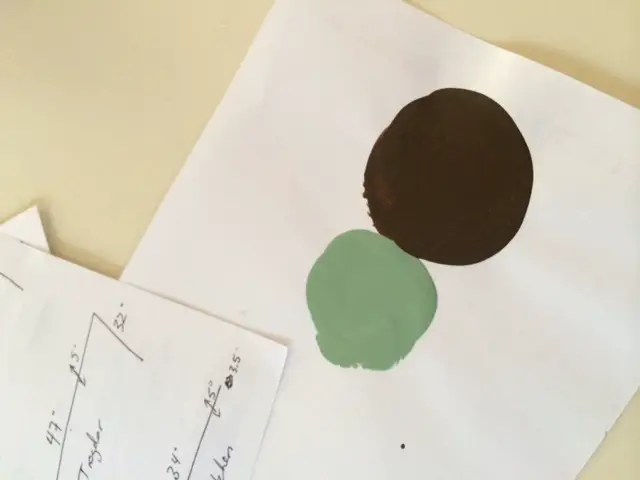
Measurements ready, we went to Jo-Ann Fabric. In addition to our measurements, I took a scrap of paper with my dinette paint colors on them. This was more accurate than taking a photo, which tends to wash out colors.
Jo-Ann’s had a wealth of fabrics, so it was just a matter of walking through them all and narrowing down my choices. I knew what I didn’t want. I didn’t want:
- Anything that looked like it belonged in an RV (this is my home!)
- Anything with a pattern that was too large for the size of my cornice boxes
- Anything overly floral
- Striped patterns (recommended by Kerensa, who told me how difficult it is to keep the lines straight)
I also knew what I did want. I wanted a thicker fabric that would hide any imperfections in the old fabric underneath. I also wanted a fabric with character! That nameless quality.
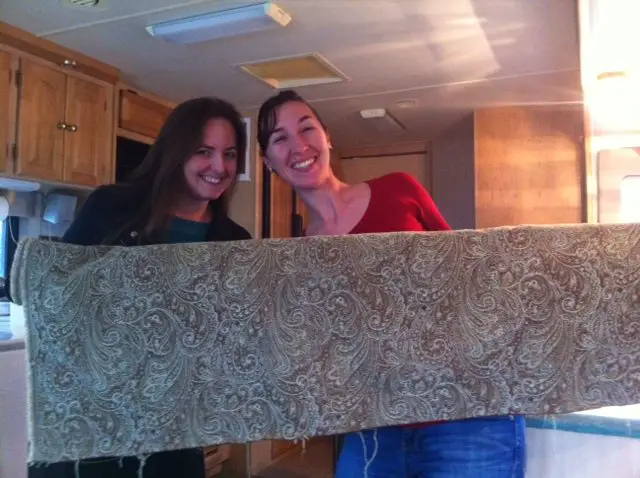
With these qualifications in mind, it wasn’t too difficult to find the perfect fabric for my little home: Clarence Jade by Richloom Studio.
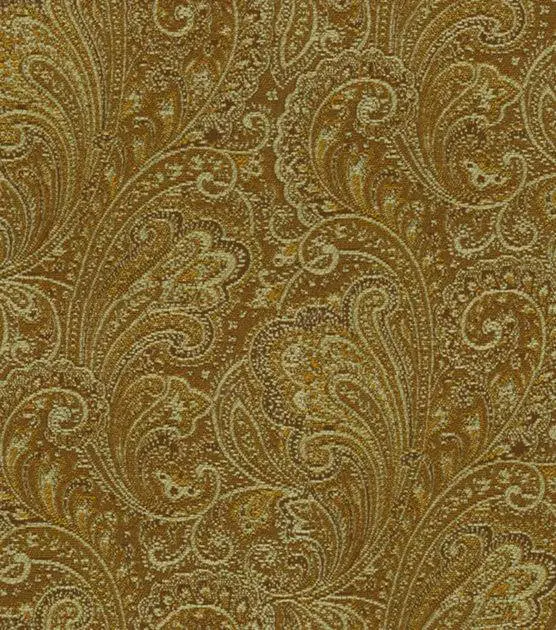
The colors are a little weird in the sample – you’ll get a better idea in the pictures below!
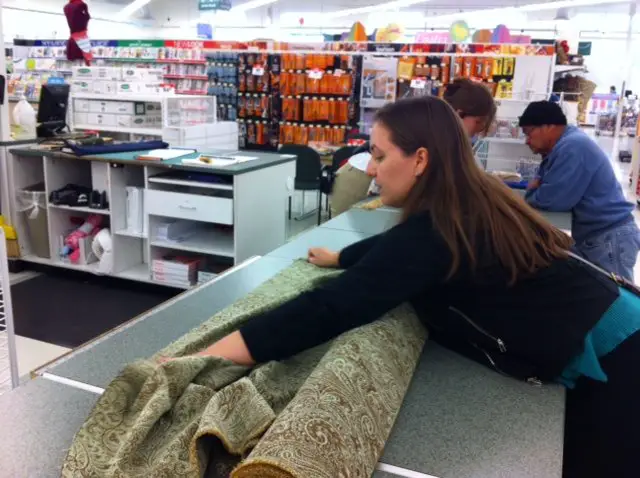
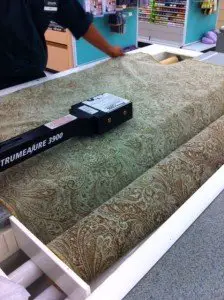
Kerensa checked the measurements one more time. After putting the fabric through the fun yardage-counting machine, it turned out that we would just barely have enough for the project. I decided to go for it.
A lot of Jo-Ann’s fabrics are discounted, but this one was full price at $39.99/yard. Total price for 6 yards? $239.94.
Before I had a heart attack, an employee was kind enough to recommend Jo-Ann’s mobile app. He said they often have really good coupons on there. He was right! I found a coupon that was 50% for one item. New price for fabric? $119.97.
Suffice it to say, I definitely recommend you get your hands on the (free) app.
The Process: Preparing the Cornice Boxes
While we were at Jo-Ann’s, Eric and Kerensa’s husband Brandon worked on the cornice boxes. A quick note on taking the cornice boxes down. They need to be unscrewed at the top and from the wall brackets on either side. The top screws can be difficult to get to because they’re often blocked by the blinds.
Once the cornice boxes are down, the blinds need to be carefully removed. They’re screwed in on either side at the bottom, and clipped in at the top.
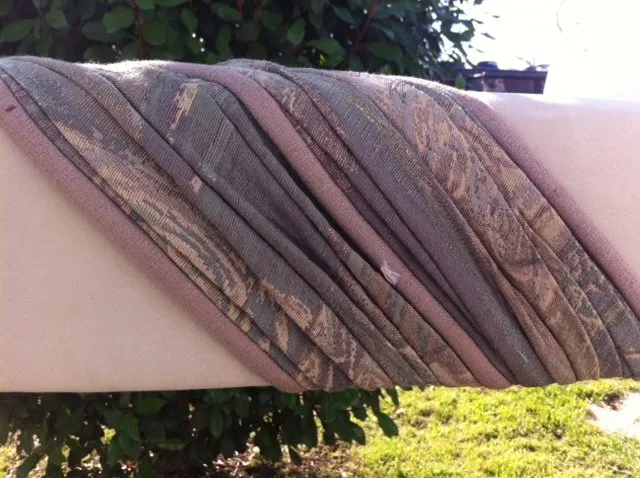
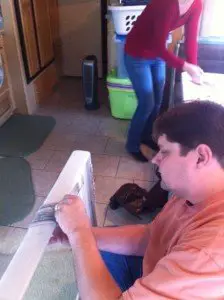
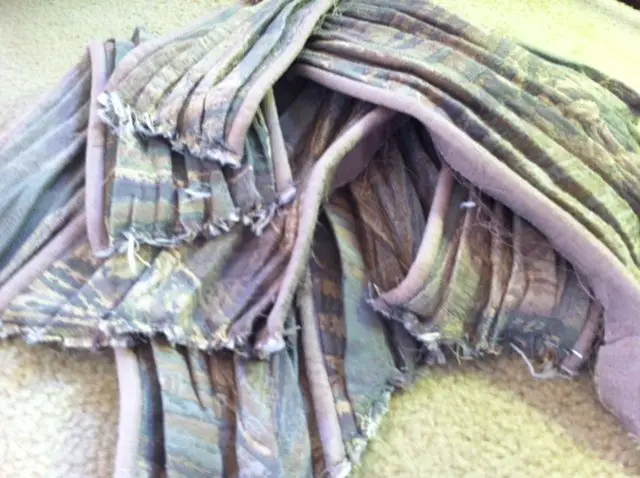
That done, Eric and Brandon removed the bizarre accent fabric. This is easier said than done, but they developed a workable process. They wedged a flat-head screwdriver under the staples that held the fabric in place, wiggling the screwdriver until the staple came loose. Then they used a pair of pliers to pull the staple out.
They found that once they removed a couple of staples on the end, they could actually use the pliers to rip the fabric off. This made it go a lot more quickly than it had when they removed staples one at a time with the screwdriver method. Staples…so many staples…
The Process: Reupholstery
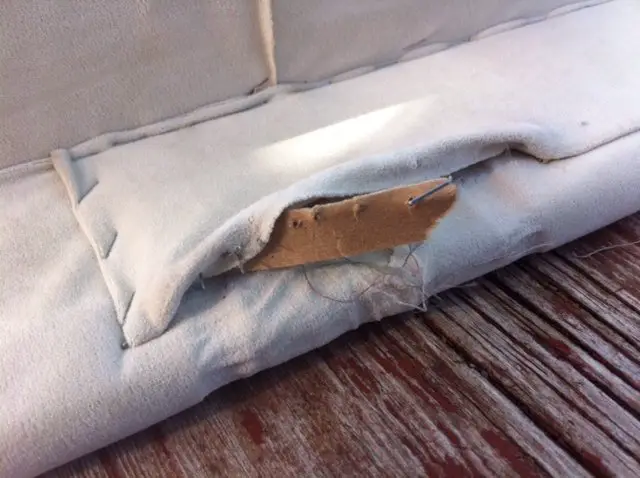
We were finally ready to get to the reupholstery part! We partially unrolled the fabric on the floor and laid one of the large cornice boxes on top of it. Again, make sure there’s enough excess fabric on the top and on the sides to fold it over the edges.
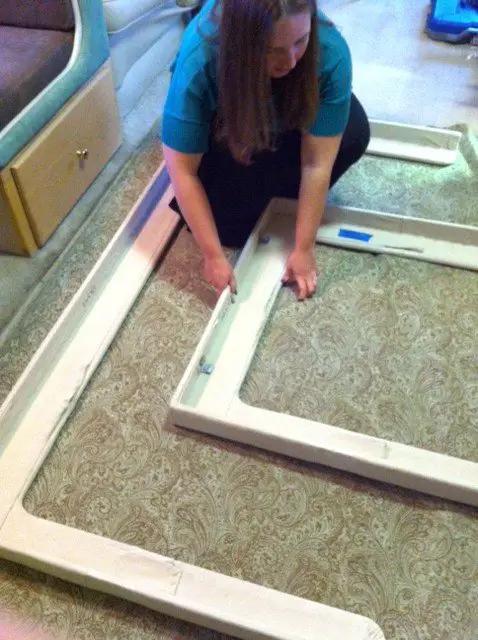
Once we felt good about the positioning of the fabric, we cut out the fabric around the cornice box, leaving a good 6-8″ extra fabric for the sides and fold-overs. We put the extra fabric aside for the smaller cornice box.
Next, staples! We started at the top in the middle. We put 3-4 staples in across the top, and then stood the cornice box upright to make sure the fabric was straight. We finished stapling the top, but didn’t do the corners quite yet.
Next, we stapled the underside of the top. The corners were rounded, so we cut a straight line towards the very middle of the curve. Then we spread a thin layer of Elmer’s glue on the corner fabric to keep it from fraying.
With the top done (except for those top corners!), we started stapling the sides. Same pattern: start in the middle and work your way out.
Now my confession: I do the corners last because they’re hard! Kerensa taught me how to do lovely corner folds at the top, which I slowly mastered with practice:
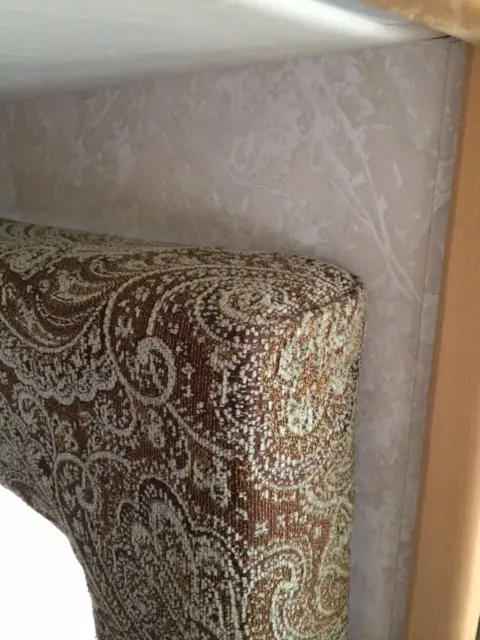
Note that you will probably have to cut away extra fabric, in order to make the corners lie flat.
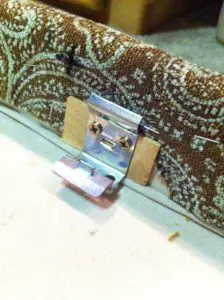
The top corners are hard enough. The bottom corners are really hard. There are few things to stay on top of. First, I can’t lose the screw holes in the cornice boxes. There are two holes on either side: one for the wall bracket, and one for the blind. I tried to mark on top of the fabric with a sharpie, but the holes kept getting lost with all the fabric in play! What a mess.
The other hard part about the bottom corners is that they’re rounded. So I had to work really hard to stretch and staple the fabric without showing any wrinkles on the front side. Like the top corners, I needed to cut out quite a lot of extra fabric.
I found that the actual reupholstery process was pretty easy. The big time investment is getting the boxes down, getting them prepped, and getting them back up. That’s a topic for a whole other blog post. I don’t have a lot of advice except to say that I hope your blinds are mounted differently than ours. And if not, I hope you have a glass of wine handy.
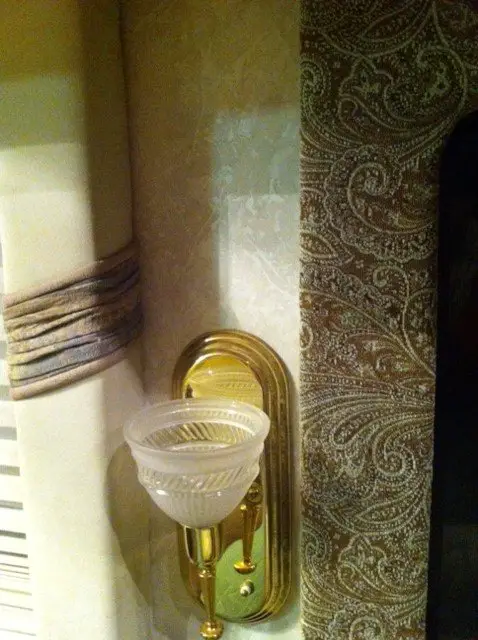
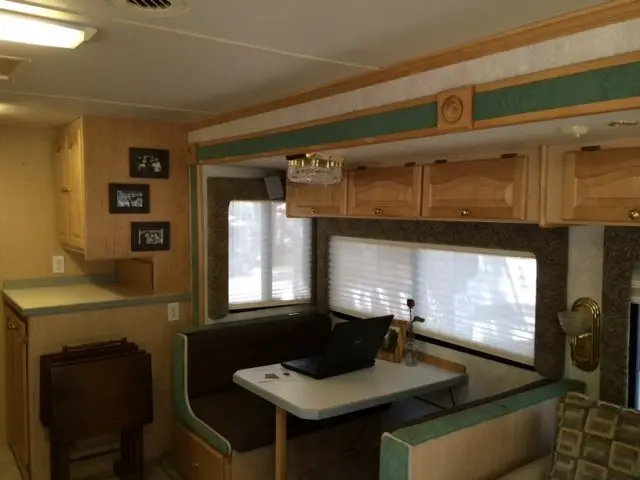
I was so excited to complete this project! The new fabric changes the entire mood of our living space. Our next project is new blinds, but we’re putting it off because we’ll have to take the boxes down all over again! -B


My idea of DIY is making my own bed, so I totally admire you!! The boxes look great, and that fabric is super cool!
Thank you so much for the kind words, @slavetofashion:disqus. Miss you!
I love the bizarre accent fabric. So very typical of an RV. Who designs these things anyway? HAHAHAHA! Great DIY and well articulated.
@anotherkindofdrew:disqus, that is one of the questions of the universe! It’s not like the coach was made in 1973…
I have added it to my “ask God upon entering Heaven” list of questions. Oy vey!
Not to wax overly philosophical, but this is something I’ve thought about. Many of us have our questions, but somehow I suspect that when I actually get into God’s presence, none of them will matter. :)
I actually have no REAL questions. I will just be stoked to be HOME and in the Kingdom. I’ll take whatever cornice boards He has up there…right along with the streets of gold and rivers of crystal!
What size staples?
Good question, @disqus_cDIycgLveW:disqus. I’m fairly confident they were 3/8″.
I just finished recovering my valances and whatever those side posts are called. I’ve done lots of these kinds of projects in the past and assumed this would be easy peasy. Not! There are many small details to take into account, not all of which are easily seen at the outset. Like you, I found the end pieces difficult; I’m too much of a perfectionist and drove myself half crazy. Now – in hindsight – looking at other peoples’ projects I see that not all valances are created equal and I’d have been much happier modifying mine to some extent. I’m seriously thinking of re-doing them. My best suggestion to anyone else thinking of this undertaking: the instructions here are EXCELLENT, but I’d say Google it and look at the various methods and suggestions. It will make a huge difference in the planning and outcome
Thanks for your comment, @disqus_OUbG1qhGmC:disqus! What model RV do you have? I’d love to see a photo of your finished valances.